Showing posts with label brown rice flour. Show all posts

Monday, July 1, 2013

Gluten-free, vegan, peach pie and crust

The final product! Looks, smells, and tastes delicious!
Gluten-free baking is a tricky, tricky, thing. Flours taste weird, things don't rise like they do with normal all purpose flour, sometimes it is really dense, and sometimes it turns out just right, like this pie and pie crust.

millions of peaches, peaches fo me!
I have been figuring out pie crusts for almost a year. I made a ton of pies last year with fresh pumpkin from our garden, preparing for Thanksgiving and wanting it to be perfect. The pie crust I used was ok. It tasted gluten-free and I didn't really enjoy it. It was a weird consistency and it was so funky. So, I gave pie making a rest until I saw rhubarb at the store and realized I had never had rhubarb, and more specifically, a strawberry rhubarb pie before. So I was set on a mission to create the perfect pie crust for this delicious sounding pie.

dry ingredients for the pie crust. 
The first time I made the pie, I did make a strawberry rhubarb pie. The crust was a bust. I added too much liquid, which made me add more flour to try and balance it out. I ended up having a TON of pie crust, and it came out super thick. I don't really like thick crusts... I would prefer a nice little layer of crust and mostly fillings with my pies. So, while it tasted good, I ended up mostly eating just the filling of the strawberry rhubarb pie. My partner loved it and ate it all.
Finally a good gf, vegan pie crust!
The second time I made a pie, I made it with apricots and the pie crust, after paying more attention, turned out perfect. I didn't make so much and I also made it thin enough that when I held up the pie pan to the light, I could see the light through it. Not like there were holes, but the crust was thin enough that I could see that there was a light on.

peaches cooking down, releasing their delicious juices!
So, of course, I had to make another pie to make it even better. I am really into pies lately. I especially like this pie because, well, it's pretty darn healthy for you. The replacement of coconut sugar is so much better than plain ol' granulated sugar. So my project was a peach pie, because oh my goodness, the peaches look heavenly.

sweet crust drops
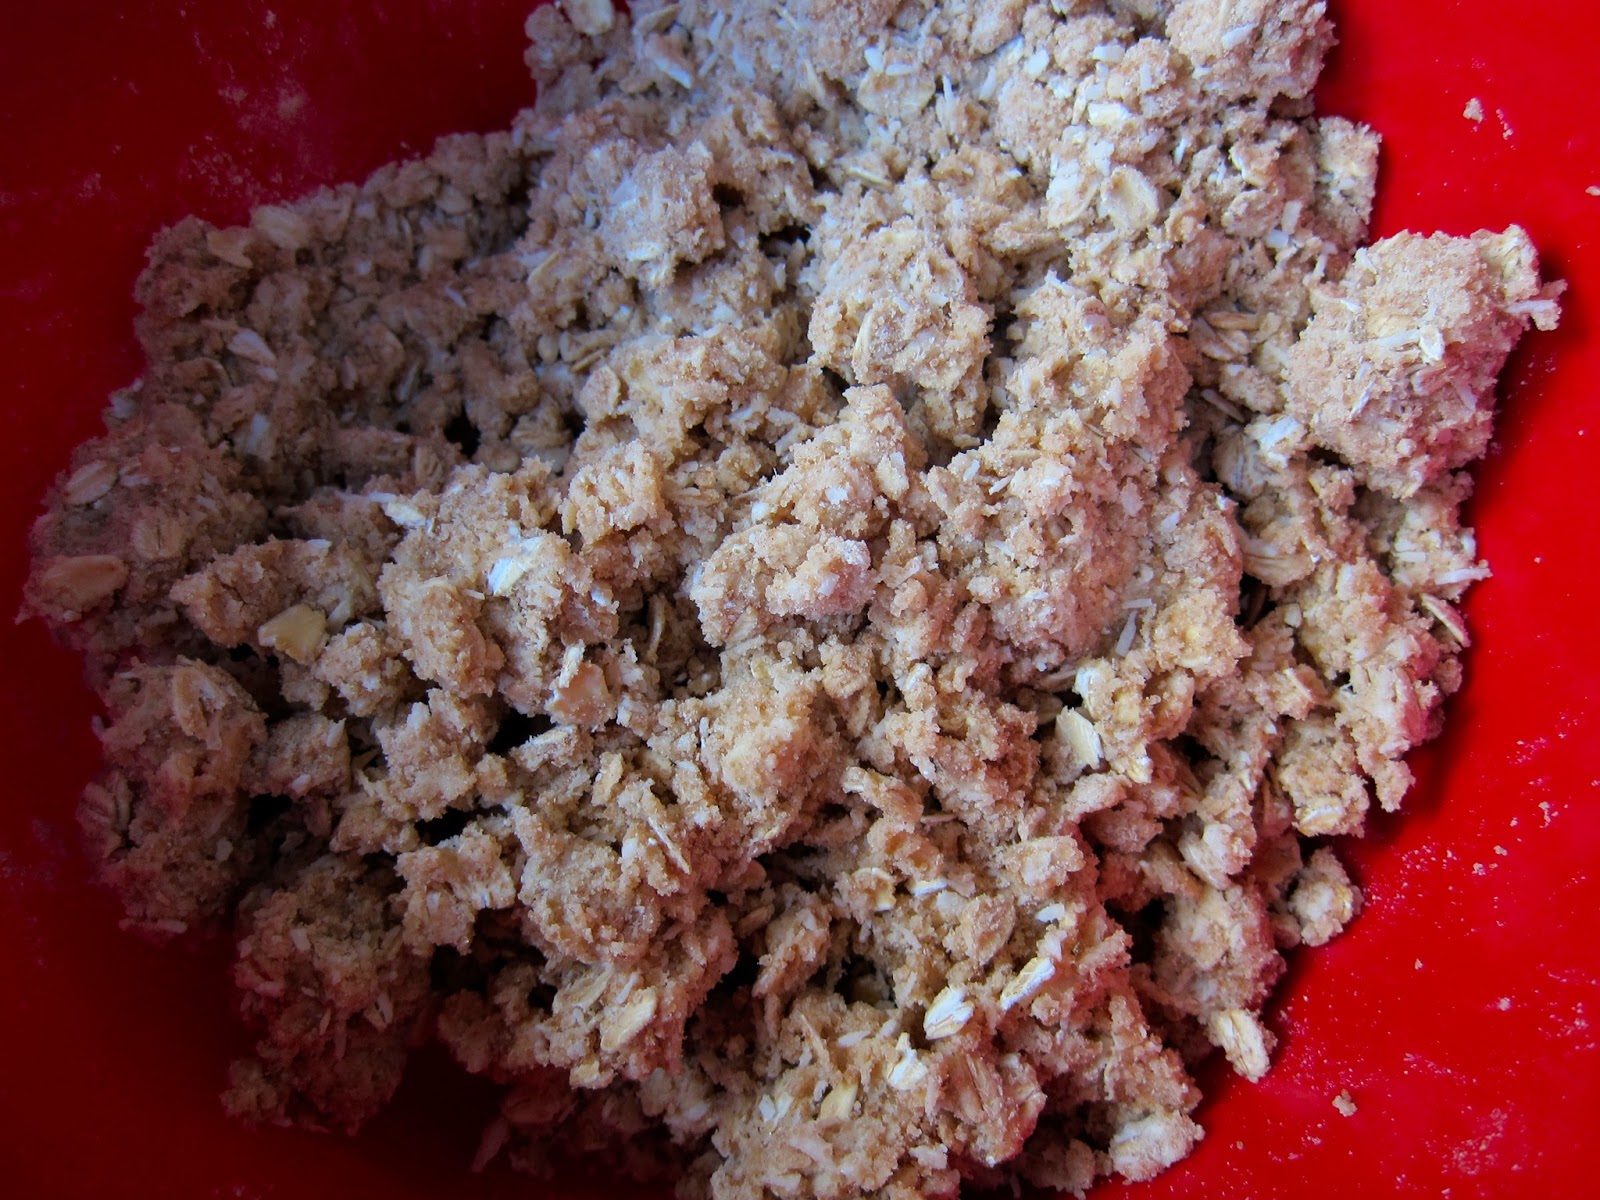
This pie crust isn't all that sweet, so I added a little sweet crust drops on top of the pie. This was like what you'd put on top of a crisp. But, it wasn't filled with oats. It was the perfect sweet top to add to the tart strawberry rhubarb filling.

close up of the topping on the pie before baking.
I hope you enjoy this pie crust as much as I do. It really is my new go to pie crust. And it takes minutes to put it together.

Gluten-free, Vegan Pie Crust
Serving: 1 9-inch pie dish

1 1/2 c. brown rice flour
1 tbs. arrow root
3/4 tsp. salt
1 tsp. coconut sugar
1/4 tsp. cinnamon
1/2 c. refined coconut oil, solid
1 1/2 tbs. vanilla extract
3 tbs. agave nectar
6 tbs. water

In a bowl, combine dry ingredients. With the mixer on low, gradually add in coconut oil a tablespoon at a time. Once the mix is crumbly, add in vanilla, coconut nectar and slowly add in water a tablespoon at a time until the dough all comes together and forms a ball.

Remove from bowl and form into a ball shape and flatten into a disk. Oil  bottom of pie plate, place disk into pie plate, using either the heel of your hand or pastry roller, press out into the bottom and sides of the plate; then use your hands to form crust and crimp edges. With a fork poke a few holes in the bottom of the crust. 

Preheat oven to 350°*. Place crust in freezer until it hardens up (usually about 15 minutes).

Bake for 5-6 minutes.

Pie Filling

5-6 peaches
1/4 c. coconut oil (solid)
6 tbs. coconut sugar
1 tbs. vanilla extract
2 tbs. arrowroot
1tbs. water

Place filling ingredients, excluding the arrowroot/water in a pot over medium heat, stirring frequently. After the peaches have cooked down, mixed together the arrowroot and water to form a slurry.

Pour arrowroot/water mixture into the peaches. Keep on the heat and stir until the mixture thickens (you'll be able to feel it, so keep stirring and mak sure it is evently combined and thickened.

Pour into pie crust.

Topping

1/4 c. coconut sugar
1/4 c. brown rice flour
2 tbs. coconut oil

Using a fork, mix together ingredients until they form a crumb like consistence. Place spread out on pie before baking.

Bake pie for 30 minutes. Let cool before placing in fridge. If you don't have enough patience as me, place pie in the freezer to help speed along the setting up of pie.

Enjoy at room temperature, or heated with a dollop of ice cream.

* I baked my pie in our grill (because it was 9.30 IN THE MORNING and it was already over 85 degrees in the house), which is like a conventional oven. Infrared is what they call it I think. I ended up baking it about 10 minutes shorter than I would have in the oven because it started to boil it over. So I just transfered it to the oven in the house and let it heat up the oven and continue to bake for the remainder minutes. I have to admit that I was a little nervous that it would taste like chicken since that's what we grill, but it doesn't. It tastes like peach pie and it is freakin' delicious. 

The oven for the pie. aka. the grill!
Pie siting on the grill


Wednesday, April 24, 2013

Gluten-Free flour mixture

I realize that I don't actually have a post dedicated to my flour mixture, and when I say "2.5 cups of gluten-free flour" people are getting confused, so I decided to dedicate a post specific to the flour, in hopes that I will remember to link this recipe to all the times I say "gluten-free flour."

I don't have any pictures of this lovely mixture, but it is what I use in all my baking and cooking items, unless noted in the specific blog post.

So, forgive me that I have been so careless as to not have a gluten-free flour post. :)

Kyrie's Gluten-Free Flour Mix
Makes 5 cups

4 c. superfine brown rice flour
1 1/3 c. potato starch (not potato flour)
2/3 c. tapioca flour (also known as tapioca starch)

Measure flour using a large spoon and scooping into the measuring cup, then level with back of knife. Do NOT use the measuring cup itself to scoop flour--this will compact flour and will end up with too much.

Combine all ingredients in a gallon-size ziplock bag. Shake until well blended. Store in the fridge until you're ready to use it.

I don't think it ever gets old or goes bad... I have had some flour in there for about a month and it's been fine! Also, remember to keep your potato starch and tapioca flour in the fridge once opened. Or you could make as many batches as you can to rid yourself the extra clutter from your fridge. If I know I am going to be baking a lot, I tend to make two batches of this in one ziplock, and it works great!

Sunday, March 31, 2013

Vegan date bars


My relationship with dates is a new one. We just met last summer, and I was a little hesitant of them. The ones I had been given were from a local farm here in Arizona, and they were sooooo sweet—like biting into a piece of caramel. They were good, but it made my teeth hurt (you know the feeling when you bite something sweet or sour and your sweet tooth does a little ache? That's what it was).


So I gave them a break for a while. I was thinking about what I could do with dates. They are extremely healthy for you, and they are sweet enough to be a dessert, so of course I was thinking about all the ways you could incorporate dates into a dessert. A lot of Paelo and Raw recipes use dates as a binding factor for things like crackers or pie crusts... I didn't want the date to be something that holds another something together. I wanted the date to be on display. The highlight of the dessert I was making.


Eventually something came to me. I am a sucker for dessert bars. There is something so delicate but not formal about them. I make a lot of fresh peach or nectarine bars when the fruit comes back into season because I like the way the crust and fruit just go together. And that’s when it hit me… I will make date bars!


The way the water and dates work together to make a caramel-like sauce is amazing. I like that the dates don’t actually disappear, that there are obvious chunks of them in the bar, but that they are smoother and silkier being boiled down. Add a touch of vanilla, and they really are like caramel.


They are extremely easy to make, but do take a while since you have to wait for the date mixture to cool down before putting it on top of the crumb mixture. I tend to stick mine in the freezer to hurry up the process.


Vegan Date Bars
16 bars

2 c. pitted Medjool dates, chopped
1.5 c. water
1 tsp. vanilla
1 c. packed brown sugar
1 c. gluten-free old fashioned oats
3/4 c. coconut flour
3/4 c. brown rice flour
3/4 c. (1 and 1/2 stick) Earth Balance butter, room temperature and cubed
1 c. shredded coconut (optional)
1 tsp. baking soda

Heat oven to 350 degrees F.

In saucepan, combine dates and water, bringing to a boil over high heat. Reduce heat and simmer, uncovered and stirring occasionally for 10-20 minutes, or until dates are soft and mixture is thick. Add the vanilla, stir, and let cool to room temperature (to expedite the process, you can place in the freezer for about an hour).
While dates are cooling, in a large bowl, add the rest of the dry ingredients. Mix well before adding the butter. With hands, or a pastry blender, mix in the butter until it forms into a dough.

Oil a 9x9 square bake ware and press half the dough mixture firmly in the bottom (If you like more crust, and less topping, add a little more to the bottom). Spread date mixture over the bottom of crumb mixture, and place the remaining crumb mixture on top of the date mixture. I like to pack it down and make sure everything is firm.

Bake in over for 40-45 minutes, or until the top starts turning brown. These are delicious fresh out of the oven or with your coffee/tea the next morning. I took these to my book club meeting this past week, and they were a hit!

Keep covered for a week.

Sunday, March 17, 2013

Blueberry Scones

Well, as you could have guessed from my last post, it's only natural that I ended up making scones. Since spring time is coming, all the fruit I have been missing is coming back into season. We bought some blueberries a couple days ago, and I just knew that I was going to make scones. I just had to wait until I had the time. I feel like I am just as busy now as I was in Grad school.


We slept in Saturday morning, and when I woke up, I got straight to work on making scones. Which also explains why the pictures are so crappy. Sorry, I am trying to figure out the lighting here in the house for picture taking. Once it get's warmer, I am hoping to implement our garden into the pictures more, since we'll be using most of that produce for all our summer cooking/baking.


I used my flour mixture, which, in my opinion  is the best gluten-free flour mixture. Now, me sharing this with you is a big step, because I am kind of selfish when it comes to recipes. But I am trying to grow and share... and remember all the lessons you learn when you're a kid. ;) Anyway, the gluten-free flour mixture is a combination of 3 different flours/starches, and makes about 5 cups a batch. Which is perfect because I usually only use 1.5 cups of this flour when baking. Except with the scones, because they take a whopping 3 cups!


These scones are my speciality. It took me quite some time to really master them. To include secret ingredients (that I won't share here) to make them just the way I want them. There's a ton of variation to this recipe. You could use any type of fruit you want, except maybe the watery fruits like kiwi and mango, or you could just leave the fruit out, and add a 2 teaspoons of vanilla to it. Or, you could go super bland, and just do nothing. Your choice. The possibilities are endless with this baby.


The two of us each had three this morning, and are looking forward to tomorrow morning when we can have more. We took the lemon curd that I made the other night, and dolloped our scones with it. There are numerous ways to eat scones. I prefer to cut mine in half and put lemon curd on each half, while my partner likes to just dollop the lemon curd on the whole scone. I love the colour of the yellow and blue from the blueberries. It makes this delicious purple swirl of colour. And the lemon and blueberries just go so well together, I have a hard time making any other type of scone. :)


Kyrie's Gluten-Free Flour Mix
Makes 5 cups

4 c. superfine brown rice flour
1 1/3 c. potato starch (not potato flour)
2/3 c. tapioca flour (also known as tapioca starch)

Measure flour using a large spoon and scooping into the measuring cup, then level with back of knife. Do NOT use the measuring cup itself to scoop flour--this will compact flour and will end up with too much.

Combine all ingredients in a gallon-size ziplock bag. Shake until well blended. Store in the fridge until you're ready to use it.

Gluten-Free Blueberry Scones
Makes 12-16 scones depending on size you make

1 (6-ounce) container of plain coconut milk yogurt
3/4 c. oat milk (or your choice of non-dairy milk)
3 c. gluten-free flour mixture
3/4 tsp. xanthan gum
1/3 c. granulated sugar
2 tbs. double-acting baking powder
1/4 tsp. salt
1/3 c. canola oil
1 container of fresh blueberries

Preheat oven to 400 degrees. Line baking pans with parchment paper or oil.

Whisk together the yogurt and milk in a small bowl. Set aside.

In a larger bowl, whisk together the flour, xanthan gum, sugar, double-acting baking powder, and salt.

Add the milk and canola oil to the dry ingredients, as well as the blueberries. Mix until there's no more dry flour and everything is evenly distributed and combined.

Flour a work surface (I use a medium-sized cutting board) with a little bit of the gluten-free flour mixture. Take half the scone mixture and place on prepared surface. Pat into a 6 to 8 inch disk and cute into wedges, like you would a pie. Place the triangles on the prepared baking pan, and repeat with the rest of the dough.

Bake in oven for 15 minutes, or until they are lightly golden brown. Eat right from the oven, and dollop lemon curd or jam of your choosing on top.

Store in ziplock bag for 2-3 days (if you have left overs).